Royal Icing Consistencies: Your Ultimate Guide to Icing Perfection
Hey, cookie artists and dessert dynamos! Louis here, ready to spill the sweet tea (or should I say, the royal icing?) on achieving icing perfection. If you’re anything like me, you believe that a beautifully decorated cookie isn’t just a treat; it’s a masterpiece. And the secret weapon behind every stunning cookie? Royal icing, of course! But let’s be real, mastering royal icing consistencies can feel like navigating a sugar-coated minefield. Too thick, and you’re wrestling with the bag; too thin, and your designs are running wild. Fear not! This guide is your passport to royal icing mastery. We’re diving deep into everything you need to know to create flawless cookies every single time. Get ready to unleash your inner cookie Picasso!
Why You’ll Love This Guide
Why should you trust me, Louis, with your precious cookie creations? Because I’ve been there, done that, and iced that! I’ve spent countless hours experimenting, tweaking, and perfecting my royal icing game. I’m here to share all my secrets with you. This guide isn’t just a recipe; it’s a roadmap to royal icing success. Here’s why you’ll be obsessed:
- No More Guesswork: I break down each consistency with clear, easy-to-follow instructions and visual cues.
- Flawless Results: Learn how to achieve the perfect consistency for outlining, flooding, and intricate detail work.
- Time-Saving Tips: Discover my pro tips and tricks to avoid common mistakes and streamline your decorating process.
- Creative Inspiration: Explore fun variations and ideas to take your cookie decorating to the next level.
Let’s get this icing party started!
Understanding Royal Icing: The Basics
Before we dive into the nitty-gritty of consistencies, let’s quickly recap what royal icing actually *is*. Royal icing is a sweet, hard-drying icing made from powdered sugar, meringue powder (or egg whites), and water. It’s the go-to choice for decorating cookies because it dries to a smooth, hard finish that’s perfect for intricate designs. Mastering royal icing involves understanding how the ratio of water to the base icing affects its consistency. This is where the magic happens!
The key to success with royal icing is understanding that it’s not a one-size-fits-all kind of deal. Different decorating techniques require different consistencies. That’s why we’re going to break it down step-by-step.
Essential Ingredients for Royal Icing Success
Here’s what you’ll need to embark on your royal icing adventure:
- Royal Icing (recipe not included): You can use your favorite recipe or find a reliable one online. I usually make a large batch and then divide it for coloring and adjusting consistencies.
- Water (for thinning): Use water to achieve the desired consistency. Add it gradually, a few drops at a time, to avoid over-thinning.
The Three Kings of Royal Icing Consistencies
Alright, let’s get to the heart of the matter: the three essential royal icing consistencies you need to know.
1. Outlining Consistency: The Foundation
Think of outlining consistency as the architectural blueprint of your cookie design. It needs to be thick enough to hold its shape when piped, creating clean, defined borders that prevent your flood icing from escaping. This is your first line of defense against cookie chaos.
How to Achieve Outlining Consistency:
- Start with your base royal icing.
- Add water, a few drops at a time, to one bowl. Stir well after each addition.
- The icing should be thick enough to hold its shape when piped but thin enough to flow smoothly without breaking.
- Test: Pipe a line on a plate or parchment paper. It should hold its shape and not spread significantly.
This consistency is crucial for creating borders that define your design and prevent colors from bleeding into each other. If you are working on Shamrock-shaped Cookies With Gold Accents, the outline will keep the gold from running into the green.
2. Flooding Consistency: The Smooth Operator
Flooding consistency is your go-to for filling in large areas of your cookie with a smooth, even layer of icing. It needs to be thin enough to spread easily and self-level, but not so thin that it runs off the cookie. Think of it as liquid velvet – luxurious and effortless.
How to Achieve Flooding Consistency:
- Add water, a few drops at a time, to another bowl of your base icing. Stir well after each addition.
- The icing should be thin enough to spread easily and self-level but not so thin that it runs off the cookie.
- Test: The “15-second flood” test. Lift a spoonful of icing and let it fall back into the bowl. Count how many seconds it takes for the surface to become smooth again. Aim for 15 seconds. Adjust water as needed.
The flood consistency is what gives your cookies that polished, professional look. If you are making Decorated Cookies St Patricks Day, the flooding consistency will allow you to easily fill the shamrock shape with green royal icing. If the surface of the icing doesn’t become smooth again within a reasonable time, it’s an indication that the icing is too thick and needs more water. On the other hand, if the surface smooths over almost instantly, it means the icing is too thin and prone to running off the edges of the cookie.
3. Detail Work Consistency: The Precision Artist
For adding intricate details like fine lines, dots, and delicate patterns, you need a slightly stiffer consistency. This allows you to create precise designs without the icing spreading or losing its shape. Think of it as the sculptor’s clay – pliable and responsive.
How to Achieve Detail Work Consistency:
- Start with outlining consistency.
- Add powdered sugar, a little at a time, to stiffen it up.
- The icing should hold its shape when piped and allow you to create fine details without spreading.
- Test: Pipe a small dot or line. It should hold its shape and not flatten out.
This consistency is perfect for adding those extra special touches that make your cookies stand out. If you are making Four Leaf Clover Decorated Cookies, the detail work consistency will allow you to add the delicate veins to the leaves.
Pro Tips for Royal Icing Success
Ready to take your royal icing game to the next level? Here are some of my top pro tips:
- Gradual Adjustments: Add water or powdered sugar in small increments. It’s easier to thin or thicken icing than to fix an over-thinned or over-thickened batch.
- Consistent Stirring: Stir the icing thoroughly after each addition of water or powdered sugar to ensure even consistency.
- Air Bubbles: Gently tap the bowl on the counter to release any trapped air bubbles. This will help prevent craters in your finished designs.
- Coloring: Use gel food coloring for vibrant, consistent colors. Liquid food coloring can alter the consistency of your icing.
- Piping Bags: Use high-quality piping bags and tips for precise control and clean lines.
Common Mistakes to Avoid
Even the best bakers make mistakes. Here are some common royal icing pitfalls and how to avoid them:
- Over-Thinning: Adding too much water can result in icing that runs off the cookie. If this happens, add powdered sugar, a tablespoon at a time, until you reach the desired consistency.
- Crusting: Royal icing can dry out quickly. Keep your bowls covered with a damp cloth or plastic wrap to prevent crusting.
- Clogging: Ensure your powdered sugar is finely sifted to prevent clogs in your piping tips.
- Uneven Drying: Avoid placing freshly iced cookies in a humid environment, as this can cause the icing to dry unevenly.
Creative Variations to Spice Things Up
Want to add a little pizzazz to your royal icing? Here are a few fun variations to try:
- Flavor Extracts: Add a few drops of vanilla, almond, lemon, or other flavor extracts to your icing for a subtle flavor boost.
- Citrus Zest: Incorporate finely grated citrus zest for a burst of fresh flavor and aroma.
- Spices: Add a pinch of cinnamon, nutmeg, or ginger for a warm, comforting twist.
- Edible Glitter: Sprinkle edible glitter on your wet icing for a touch of sparkle and glamour.
Storing Your Royal Icing Like a Pro
Proper storage is key to keeping your royal icing fresh and ready to use. Here’s how to do it:
- Airtight Container: Store leftover icing in an airtight container in the refrigerator for up to two weeks.
- Prevent Drying: Place a piece of plastic wrap directly on the surface of the icing to prevent it from drying out.
- Re-Mix: Before using refrigerated icing, bring it to room temperature and remix it thoroughly to restore its consistency.
Royal Icing FAQs: Your Burning Questions Answered
Got questions? I’ve got answers! Here are some frequently asked questions about royal icing:
- Q: Can I use royal icing on cakes?
A: Yes, you can, but it’s primarily used for decorating cookies due to its hard-drying nature. - Q: Can I freeze royal icing?
A: Yes, you can freeze royal icing for up to three months. Thaw it in the refrigerator overnight and remix it before using. - Q: How do I fix royal icing that’s too thick?
A: Add water, a few drops at a time, until you reach the desired consistency. - Q: How do I fix royal icing that’s too thin?
A: Add powdered sugar, a tablespoon at a time, until you reach the desired consistency. - Q: Why is my royal icing cracking?
A: Cracking can be caused by over-baking the cookies or drying the icing too quickly. Ensure your cookies are properly baked and allow the icing to dry at room temperature.
Serving Suggestions: The Grand Finale
Now that you’ve mastered royal icing, it’s time to showcase your creations! Here are some serving suggestions to impress your friends and family:
- Gift Boxes: Package your decorated cookies in beautiful gift boxes for a thoughtful and personalized present.
- Dessert Platters: Arrange your cookies on a decorative dessert platter for a stunning centerpiece at parties and gatherings.
- Cookie Bouquets: Create a unique cookie bouquet by attaching your decorated cookies to skewers and arranging them in a vase.
Remember those St Patrick’s Day Cookies Royal Icing you made? They would look great on a platter!
Final Thoughts: Unleash Your Inner Cookie Artist
And there you have it! Your complete guide to mastering royal icing consistencies. With a little practice and these tips, you’ll be creating cookie masterpieces in no time. So go ahead, unleash your inner cookie artist, and let your creativity shine! Don’t forget to share your creations with me – I can’t wait to see what you come up with! Happy baking, everyone!
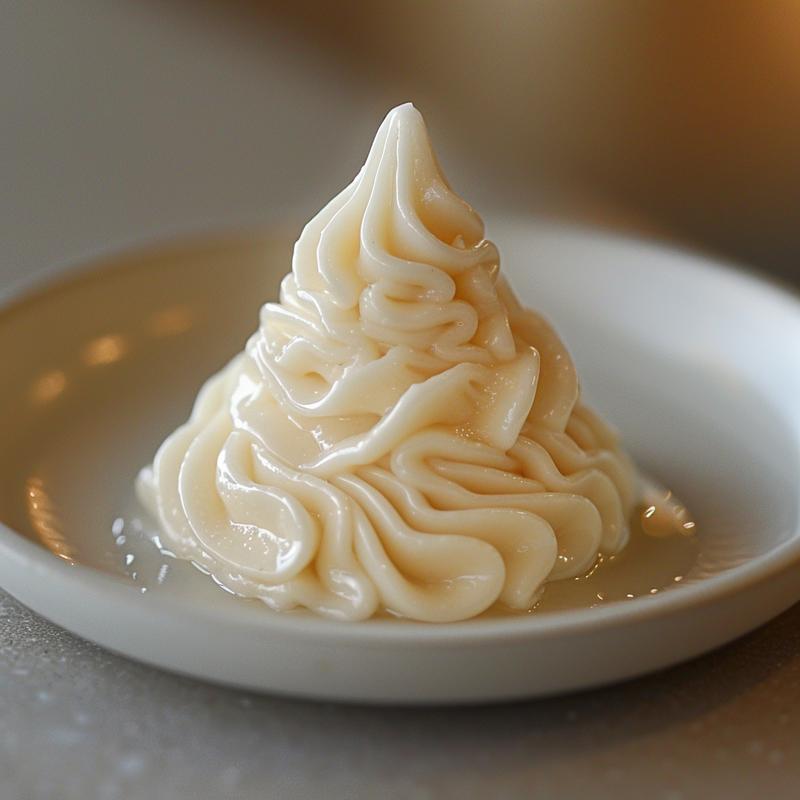
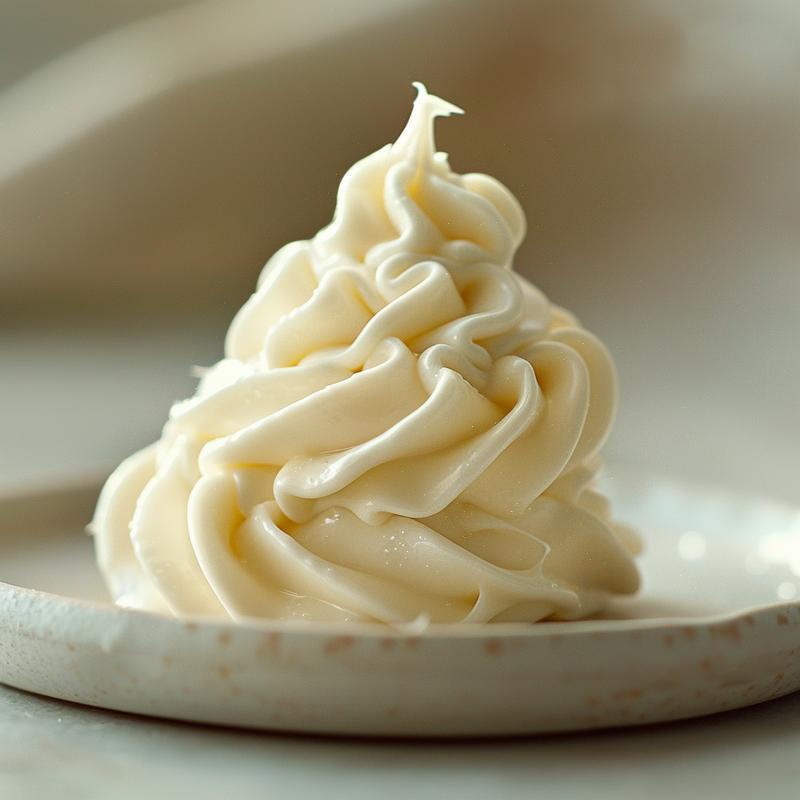
Remember, understanding the different consistencies – the outline and flood, the thick flood versus the thin flood – is the key. If you pay attention to the photos above, you’ll see the visual measuring I mentioned earlier. The photos in the article are designed to help you understand the subtle differences. You’ll get it! It’s all about practice and visual measuring. If you re ever unsure, remember the 15-second rule for flood consistency. It s a game-changer. The icing is your canvas, and you re the artist. Let s get creative!
Now, go forth and conquer the world of royal icing! Let’s make some magic happen, one cookie at a time. Show me those St Patrick’s Day Royal Icing Cookies and Four Leaf Clover Cookies Royal Icing creations – I’m ready to be amazed!

Royal Icing Consistencies
Ingredients
Method
- Prepare Royal Icing according to your preferred recipe.
- Divide the icing into separate bowls for each desired consistency.
- For outlining consistency: Add water, a few drops at a time, stirring well. Test by piping a line; it should hold its shape.
- For flooding consistency: Add water, a few drops at a time, stirring well. Aim for a '15-second flood'.
- For detail work: Start with outlining consistency and add powdered sugar to stiffen it up.
- Adjust the water to achieve desired consistency in each bowl.
- Keep the bowls covered with damp cloth or plastic wrap to prevent crusting.
Notes
Loved this recipe? Save it to your favorite Pinterest board so you can easily find it later! ✨