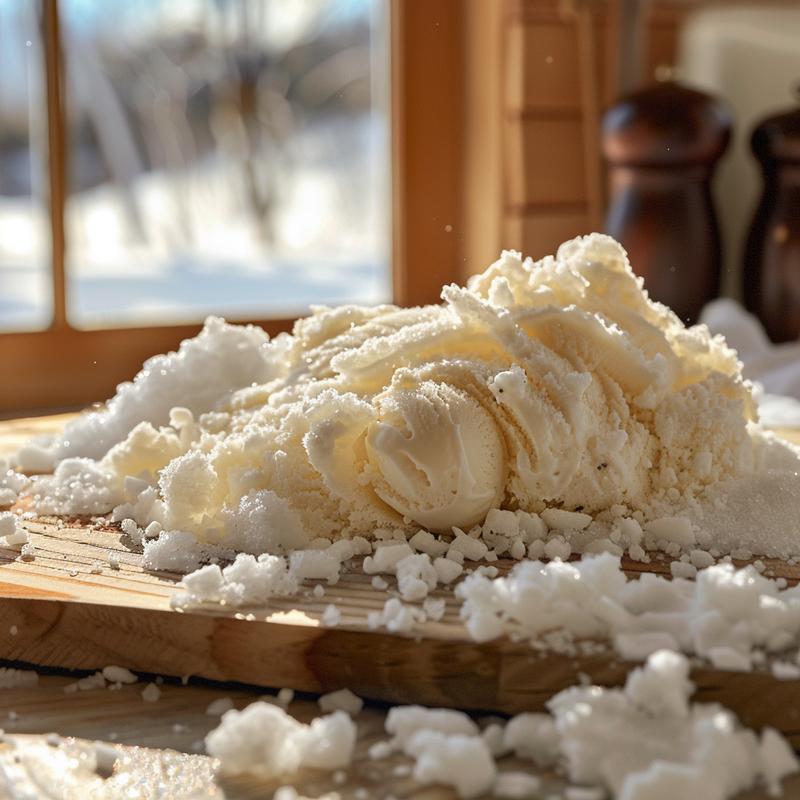
Hey there, fire starters and flavor fanatics! Kai here, ready to drag you away from the mundane and into the magical world of…snow ice cream! Yeah, you heard right. We’re turning that fluffy white stuff falling from the sky into a creamy, dreamy dessert. Forget the fancy ice cream maker; we’re going back to basics, using nature’s own ingredients and a whole lotta fun. So, grab your warmest gloves, a big bowl, and let’s make some memories (and delicious snow ice cream!).
I know what you’re thinking: “Snow? In my ice cream?” Trust me. As a seasoned traveler who’s sampled street food from Bangkok to Buenos Aires, I can tell you the best flavors are often the most unexpected. This snow ice cream recipe is not only ridiculously easy, but it’s also a fantastic way to connect with nature and create a unique treat with the kids (or just embrace your inner child!).
Why You’ll Love This Snow Ice Cream Recipe
Seriously, what’s not to love? This recipe is pure winter joy in a bowl. But if you need convincing, here’s the lowdown:
- Simplicity Itself: It only requires a handful of ingredients you probably already have. No complicated steps, no fancy equipment.
- A Winter Wonderland Activity: Making snow ice cream is a fantastic way to get the kids outside and excited about winter. Turn a snowy day into a fun family adventure!
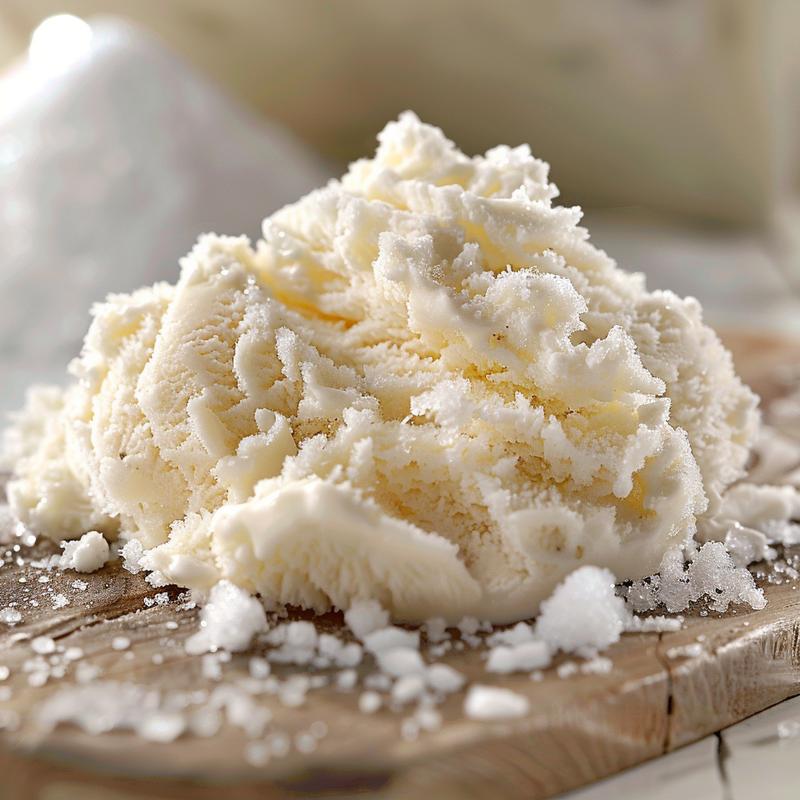
- Uniquely Delicious: The texture is light and airy, unlike any store-bought ice cream. It’s a delicate, melt-in-your-mouth experience.
- Customizable: The base recipe is a blank canvas! Add your favorite extracts, spices, or toppings to create your own signature snow ice cream flavor.
- It’s friggin’ cool!: Let’s be honest, turning snow into ice cream is just plain awesome.
Snow Ice Cream Ingredients
Alright, fire starters, let’s gather our supplies. Here’s what you’ll need to whip up a batch of this winter wonder:
- 8 cups fresh snow: This is the star of the show! Make sure it’s freshly fallen, clean snow. Avoid snow that’s been sitting on the ground for a long time or near roads, as it could be contaminated. The quality of your snow directly impacts the taste and texture of your snow ice cream.
- 1/2 cup milk or cream: You can use whole milk, 2% milk, or even heavy cream for a richer flavor. Evaporated milk can also be used, but the taste will be slightly different. The milk you choose will affect the creaminess.
- 1/3 cup sugar: Granulated sugar works best, but you can also use powdered sugar. Adjust the amount to your liking, depending on how sweet you want your ice cream. Sweetened condensed milk can be used as a substitute for milk and sugar.
- 1 teaspoon vanilla extract: Adds a classic ice cream flavor. Feel free to experiment with other extracts like almond, peppermint, or maple.
- Pinch of salt (optional): A tiny pinch of salt enhances the sweetness and balances the flavors. Don’t skip it!
How to Make Snow Ice Cream: Step-by-Step
Okay, it’s time to get our hands dirty (or rather, cold!). Follow these simple steps and you’ll be enjoying your homemade snow ice cream in no time.
- Gather the Snow: This is crucial. Find a spot where the snow is fresh, clean, and untouched. A backyard or park away from busy roads is ideal. Scoop up about 8 cups of that pristine snow.
- Mix the Liquid Base: In a mixing bowl, combine the milk or cream, sugar, vanilla extract, and salt (if using). Stir well until the sugar is completely dissolved. This is where the magic begins.
- Incorporate the Snow: This is the fun part! Add the snow to the liquid mixture, one cup at a time, stirring constantly. Gently fold the snow into the liquid until it’s evenly distributed.
- Achieve the Perfect Consistency: Continue adding snow, a little at a time, until you reach your desired consistency. You’re aiming for a soft-serve ice cream texture. Be careful not to overmix, as this can make the ice cream watery.
- Serve Immediately: Snow ice cream is best enjoyed right away. It melts quickly, so grab a spoon and dig in!
Pro Tips for the Best Snow Ice Cream
Want to take your snow ice cream game to the next level? Here are some pro tips from yours truly:
- Use the freshest snow possible: The fresher the snow, the better the taste and texture of your ice cream. Aim for snow that has just fallen and hasn’t been sitting on the ground for too long. Fresh snow and clean snow are the keys to success.
- Chill your bowl: Pop your mixing bowl in the freezer for about 15 minutes before you start. This will help keep the ice cream cold and prevent it from melting too quickly.
- Don’t overmix: Overmixing can cause the snow to melt and the ice cream to become watery. Gently fold the snow into the liquid mixture until it’s just combined.
- Taste and adjust: After you’ve added all the snow, taste the ice cream and adjust the sweetness or flavor as needed. Add a little more sugar or vanilla extract to suit your preferences.
- Have fun with it!: Don’t be afraid to experiment with different flavors and toppings. The possibilities are endless!
Common Mistakes to Avoid
Even with a simple recipe, there are a few pitfalls to watch out for. Here’s what NOT to do:
- Using dirty snow: This is a big no-no! Avoid snow that’s been near roads, sidewalks, or any other areas where it could be contaminated. It’s not worth risking your health for a bowl of ice cream.
- Adding too much liquid: Adding too much milk or cream will result in a watery ice cream. Start with a small amount and add more as needed until you reach the desired consistency.
- Letting the snow melt: Work quickly to prevent the snow from melting. Have all your ingredients ready before you start, and mix the ice cream in a cold environment.
- Not serving immediately: Snow ice cream is best enjoyed right away. It doesn’t store well, so don’t try to make it ahead of time.
Snow Ice Cream Variations: Get Creative!
Now for the fun part: customizing your snow ice cream! Here are a few ideas to get your creative juices flowing:
- Chocolate Chip: Add chocolate chips to the mixture for a classic flavor.
- Peppermint: Add a few drops of peppermint extract and crushed candy canes for a festive holiday treat.
- Strawberry: Add sliced strawberries or strawberry puree for a fruity twist.
- Maple Walnut: Add maple syrup and chopped walnuts for a rich and nutty flavor.
- Cookies and Cream: Crumble your favorite cookies into the mixture for a decadent treat.
- Snow Ice Cream With Condensed Milk: Substitute the sugar and milk with sweetened condensed milk for a richer, sweeter flavor.
- Snow Ice Cream Recipe No Condensed Milk: Stick to the recipe as is or experiment with other sweeteners like honey or maple syrup.
Can You Store Snow Ice Cream?
Unfortunately, snow ice cream is not meant to be stored. Because it’s made with snow, it melts very quickly. The texture will change significantly if you try to freeze it, and it will likely become icy and unappetizing. The best way to enjoy snow ice cream is to make it and eat it immediately. So gather your friends and family, whip up a batch, and savor every delicious bite!
Frequently Asked Questions (FAQ)
Got questions? I’ve got answers!
- Is it safe to eat snow ice cream? Yes, as long as you use clean, fresh snow from a safe location. Avoid snow that’s been near roads, sidewalks, or any other areas where it could be contaminated.
- Can I use artificial snow? No, artificial snow is not safe to eat. It’s made with chemicals that can be harmful to your health.
- Can I use flavored syrups instead of vanilla extract? Absolutely! Experiment with different flavors like chocolate, caramel, or fruit syrups.
- What if I don’t have fresh snow? Unfortunately, you can’t make snow ice cream without snow! Wait for the next snowfall, or try making traditional ice cream instead.
- How to make ice cream with snow if it’s not cold enough? Work quickly and use chilled ingredients. Keep the snow as cold as possible until you’re ready to use it.
- Making ice cream out of snow – is it really possible? You bet! It’s a fun and easy way to enjoy a unique winter treat.
Serving Suggestions: Complete the Experience
Snow ice cream is delicious on its own, but here are a few serving suggestions to elevate your experience:
- In a Cone: Serve it in a waffle cone or sugar cone for a classic ice cream parlor feel.
- In a Bowl: Top it with your favorite toppings like sprinkles, chocolate sauce, or whipped cream.
- With Fruit: Pair it with fresh berries or sliced fruit for a healthy and refreshing dessert.
- With Warm Sauce: Drizzle warm chocolate sauce or caramel sauce over the top for a decadent treat.
- As a Sundae: Create a snow ice cream sundae with all your favorite toppings!
So there you have it, fire starters! My definitive guide to making homemade snow ice cream. Get out there, embrace the winter, and create something delicious. Remember, cooking with fire (or snow!) is all about experimentation and having fun. Don’t be afraid to break the rules and create your own unique flavors. Now go forth and conquer that snowdrift! 🔥❄️

Snow Ice Cream
Ingredients
Method
- Gather fresh, clean snow.
- Combine milk, sugar, vanilla, and salt (if using) in a bowl.
- Mix well until sugar is dissolved.
- Add snow to the liquid mixture, one cup at a time, stirring constantly.
- Continue adding snow until desired consistency is reached.
- Serve immediately.
Notes
Loved this recipe? Save it to your favorite Pinterest board so you can easily find it later! ✨