Hey, flavor fanatics! Louis here, ready to turn your next snow day into a dessert adventure. Forget the shoveling – let’s talk Old Fashioned Snow Ice Cream! This isn’t just a recipe; it’s a throwback to simpler times, a taste of childhood wonder, and a ridiculously fun way to put that fresh snowfall to delicious use. Ready to make some magic? Let’s dive in!
Why You’ll Love This Snow Ice Cream Recipe
Seriously, what’s not to love? This recipe is quick, easy, and tastes like pure, unadulterated joy. Plus, it’s a guaranteed conversation starter. Imagine serving up bowls of this creamy delight and watching everyone’s faces light up. It’s the perfect way to turn a blah winter day into a memorable moment. If you are looking for a unique and fun dessert, this is it!
- Nostalgia Bomb: Tastes like childhood snow days, pure and simple.
- Ridiculously Easy: Minimal ingredients, minimal effort, maximum flavor.
- Conversation Starter: Guaranteed to wow your friends and family.
- Kid-Friendly Fun: Get the little ones involved in the snow-gathering process (just make sure it’s clean!).
Ingredients for Old Fashioned Snow Ice Cream
Alright, let’s gather our supplies. The beauty of this recipe is its simplicity. You probably have most of these ingredients already. The most important ingredient? Eight cups of that perfect, pristine, fresh snow!
- 8 cups fresh snow: The star of the show! Make sure it’s clean, white, and fluffy. Avoid snow that’s been on the ground for too long or near roads.
- 1 cup milk or half-and-half: Milk will give you a lighter ice cream, while half-and-half adds richness. You can even use heavy cream for an extra decadent treat.
- 1/2 cup granulated sugar: Sweetness is key! Adjust to your liking. Some people prefer powdered sugar for a smoother texture.
- 1 teaspoon vanilla extract: Adds that classic ice cream flavor. Use good quality vanilla for the best results.
- Pinch of salt (optional): Just a tiny pinch to enhance the sweetness and balance the flavors.
How to Make Snow Ice Cream: Step-by-Step
Okay, it’s showtime! Here’s how to transform that pile of snow into creamy, dreamy ice cream. Quick note: work fast! Snow melts, so speed is your friend.
- Gather the Snow: In a large bowl, collect your fresh, clean snow. Remember, the fresher the snow, the better the ice cream. Think of it as nature’s ice cream base!
- Mix the Liquid Base: In a separate bowl, whisk together the milk or half-and-half, sugar, vanilla extract, and salt (if using) until the sugar is mostly dissolved. You want a smooth, sweet concoction.
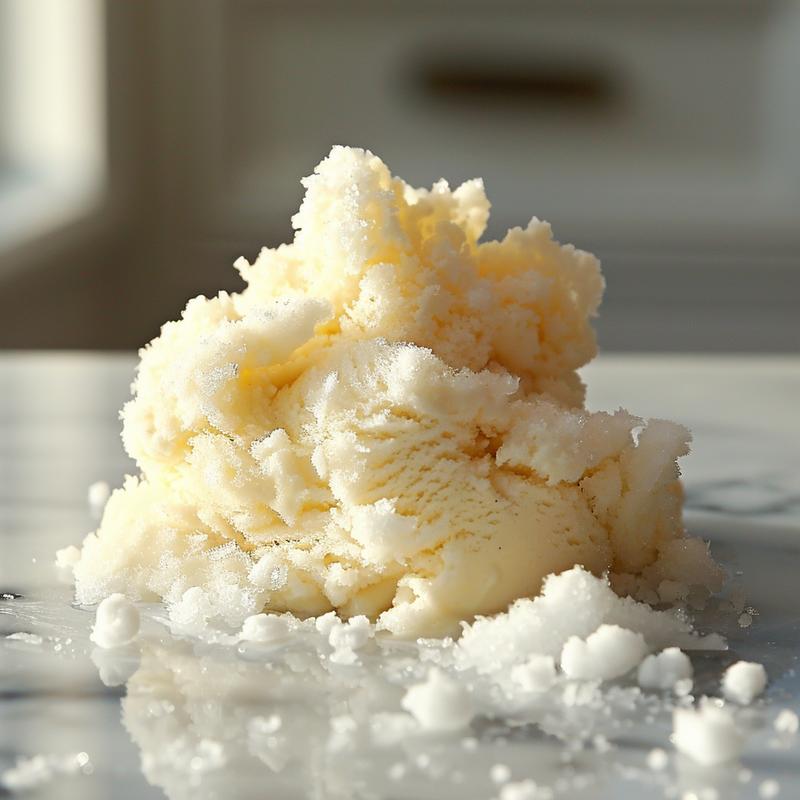
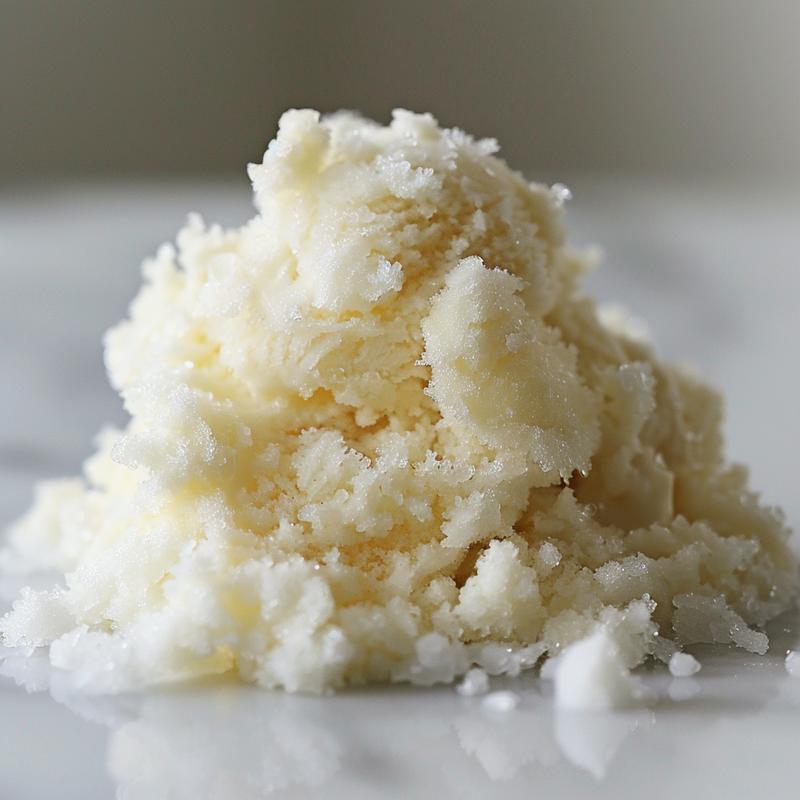
- Combine and Stir: Pour the milk mixture over the snow. Gently stir until the snow is incorporated and the mixture reaches a soft, ice cream-like consistency. Be careful not to overmix! Overmixing will cause the snow to melt too quickly, resulting in watery ice cream.
- Serve Immediately: This is crucial! Snow ice cream melts fast, so scoop it into bowls and devour it right away. Add your favorite toppings for an extra touch of fun!
Pro Tips for the Best Snow Ice Cream
Want to take your snow ice cream game to the next level? Here are a few insider tips from yours truly:
- Snow Quality Matters: The fresher, the better. Look for snow that’s just fallen and is pristine white.
- Chill Your Bowl: Pop your mixing bowl in the freezer for about 15 minutes before you start. This will help keep the snow from melting too quickly.
- Don’t Overmix: Gentle stirring is key. Overmixing leads to watery ice cream. Aim for a soft, slightly chunky consistency.
- Taste Test: Adjust the sugar to your liking. Some people prefer a sweeter ice cream, while others like it less sweet.
- Get Creative with Toppings: Sprinkles, chocolate syrup, fruit, nuts – the possibilities are endless!
Common Mistakes to Avoid
Even the simplest recipes have their pitfalls. Here’s what to watch out for when making snow ice cream:
- Using Dirty Snow: This is a big no-no! Only use fresh, clean snow. Avoid snow that’s been treated with chemicals or is near roads.
- Overmixing: As mentioned before, overmixing is the enemy of good snow ice cream. Stir gently and stop when it reaches the right consistency.
- Letting the Snow Melt Too Much: Work quickly! The longer the snow sits, the more it will melt.
- Not Adjusting Sweetness: Taste the mixture before serving and add more sugar if needed.
Snow Ice Cream Variations: Remix Your Winter Treat
Feeling adventurous? Here are some fun variations to spice up your snow ice cream:
- Chocolate Snow Ice Cream: Add a tablespoon or two of cocoa powder to the milk mixture.
- Peanut Butter Snow Ice Cream: Stir in a spoonful of peanut butter for a nutty twist.
- Strawberry Snow Ice Cream: Add a few drops of strawberry extract or a handful of mashed strawberries to the mixture.
- Coffee Snow Ice Cream: Add a teaspoon of instant coffee to the milk mixture.
- Maple Snow Ice Cream: Use maple syrup instead of granulated sugar for a rich, woodsy flavor.
How to Store Snow Ice Cream (If You Must)
Okay, let’s be real: snow ice cream is best enjoyed immediately. But if you absolutely must store it, here’s what you need to know:
- Short-Term Storage: Place the ice cream in an airtight container and store it in the freezer for no more than 30 minutes. It will likely become icy and less creamy.
- Don’t Expect Miracles: Snow ice cream doesn’t store well. It’s best to make only what you can eat in one sitting.
Frequently Asked Questions About Snow Ice Cream
Got questions? I’ve got answers! Here are some common queries about making snow ice cream:
- Is it safe to eat snow? Generally, yes, if the snow is fresh and clean. Avoid snow that’s been on the ground for a long time or is near roads. At your own risk, of course!
- Can I use artificial sweetener? Yes, you can substitute sugar with your favorite artificial sweetener. Adjust the amount to your liking.
- Can I use flavored milk? Absolutely! Chocolate milk or strawberry milk would add a fun twist.
- What if I don’t have vanilla extract? You can omit it, but it adds a nice flavor. Almond extract or other flavorings would also work.
- My snow ice cream is watery. What did I do wrong? You probably overmixed it. Next time, stir gently and stop when it reaches the right consistency.
Serving Suggestions: Level Up Your Snow Day Treat
Ready to serve up some smiles? Here are a few ideas to make your snow ice cream even more special:
- Classic Toppings: Sprinkles, chocolate syrup, caramel sauce, whipped cream – the classics never fail.
- Fruity Fun: Fresh berries, sliced bananas, chopped peaches – add a touch of summer to your winter treat.
- Nutty Goodness: Chopped nuts, peanut butter cups, almond slivers – add some crunch and flavor.
- Cookie Crumble: Crushed Oreos, chocolate chip cookies, graham crackers – add a touch of indulgence.
- Hot Fudge Sundae: Drizzle with hot fudge sauce for a warm and cold sensation.
There you have it, folks! Old Fashioned Snow Ice Cream – a taste of nostalgia, a dash of fun, and a whole lot of deliciousness. So, next time you wake up to a fresh snowfall, ditch the shovel and grab a bowl. It’s time to make some memories (and some seriously tasty ice cream!). Enjoy, and don’t forget to share your creations with me! #SnowIceCream #WinterTreat #HomemadeIceCream

Old Fashioned Snow Ice Cream
Ingredients
Method
- Gather fresh, clean snow in a large bowl.
- Whisk milk, sugar, vanilla, and salt until sugar dissolves.
- Pour milk mixture over snow and gently stir to ice cream consistency. Don't overmix.
- Serve immediately.
Notes
Loved this recipe? Save it to your favorite Pinterest board so you can easily find it later! ✨