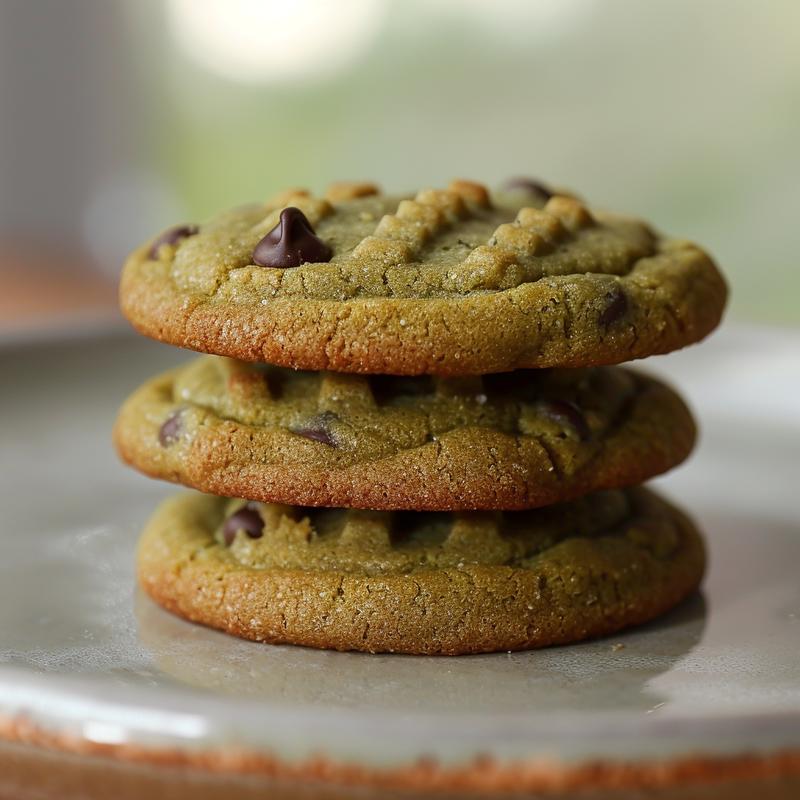
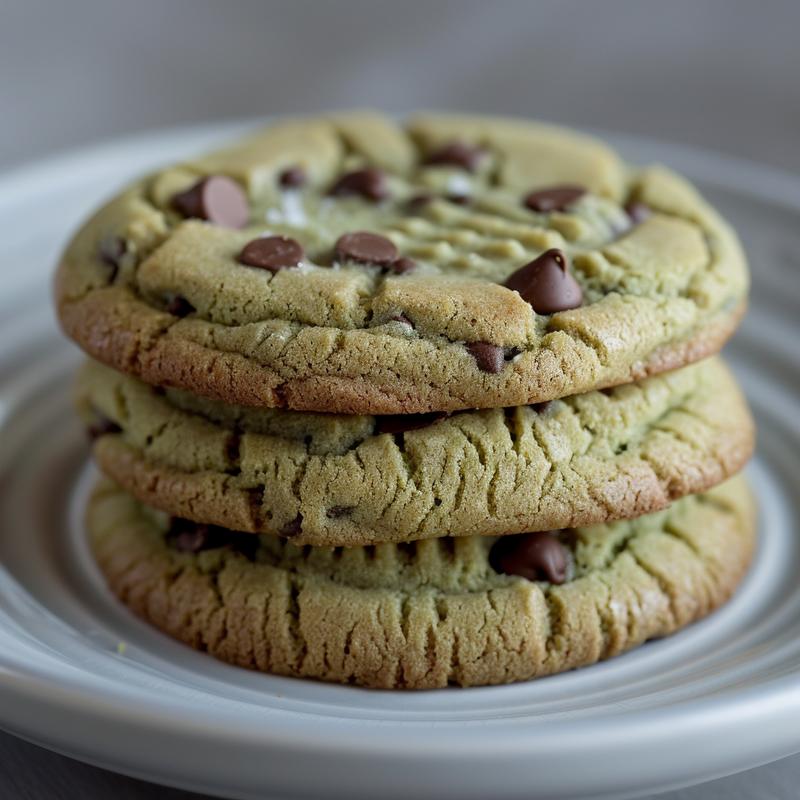
Alright, fire starters! Kai here, your resident flame whisperer, ready to drag you away from those boring, beige cookies and into a world of vibrant, delicious rebellion. Forget pristine baking; we’re about to unleash some seriously fun, green-tinted magic with these Homemade Green Chocolate Chip Cookies! These aren’t your grandma’s cookies (unless your grandma is secretly a culinary daredevil). We’re talking about an easy recipe packed with flavor and visually stunning, whether it’s for St. Patrick’s Day, a Christmas celebration, or just because you need a pop of color in your life.
Why You’ll Love This Recipe
Listen up, because these cookies are more than just a pretty face. They’re a gateway drug to the joy of baking. Here’s why you’ll be hooked:
- Easy to Make: Seriously, even a novice can nail this. We’re talking simple steps and minimal fuss.
- Perfect for Any Occasion: St. Patrick’s Day? Christmas? A Tuesday? These cookies are always a hit. The colors swap easily, too!
- Packed with Flavor: We’re not skimping on the good stuff. These cookies boast the perfect balance of sweet and savory, with a delightful vanilla kick.
- Visually Stunning: That vibrant green hue? It’s a showstopper. Prepare for compliments.
- Customizable: Want extra flavor? Throw in some chopped nuts, different chocolate chips, or even a sprinkle of sea salt. The possibilities are endless!
Ingredients You’ll Need
Gather ’round, ingredient hunters! Here’s what you’ll need to forge these green gems:
- 1 cup (2 sticks) unsalted butter, softened: The foundation of our flavor. Make sure it’s properly softened for that perfect creamy texture.
- 3/4 cup granulated sugar: For that classic sweetness.
- 3/4 cup packed brown sugar: Adds a touch of molasses-y depth and chewiness. Don’t be shy; pack it in!
- 2 large eggs: Binds everything together and adds richness.
- 1 teaspoon vanilla extract: The secret weapon for an extra flavor boost.
- 2 1/4 cups all-purpose flour: The backbone of our cookie structure.
- 1 teaspoon baking soda: Gives our cookies that delightful lift.
- 1 teaspoon salt: Enhances all the flavors and provides the perfect balance.
- Green food coloring: Get creative! Liquid, gel, or even natural food coloring will work.
- 2 cups green chocolate chips: The star of the show! If you can’t find green ones, white chocolate chips with green food coloring mixed in will do the trick. Or even better, colors swap out regular semi-sweet chocolate chips.
Step-by-Step Instructions: Let’s Get Baking!
Time to fire up the oven and get our hands dirty! Follow these steps, and you’ll be sinking your teeth into green goodness in no time.
- Preheat the Forge: Preheat oven to 375°F (190°C). This is crucial for even baking.
- Cream the Dream: In a large bowl, cream together the softened butter, granulated sugar, and brown sugar until light and fluffy. This is where your arm workout begins (or use a mixer!).
- Egg-cellent Addition: Beat in the eggs one at a time, then stir in the vanilla extract. Make sure each egg is fully incorporated before adding the next.
- Go Green: Add green food coloring to the wet ingredients, a few drops at a time, until you reach your desired shade of green. Remember, a little goes a long way!
- Dry Ingredients Unite: In a separate bowl, whisk together the flour, baking soda, and salt. This ensures even distribution and prevents clumps.
- Combine Forces: Gradually add the dry ingredients to the wet ingredients, mixing until just combined. Be careful not to overmix; this will result in tough cookies.
- Chip In: Stir in the green chocolate chips (or whatever chips you’re using!).
- Drop Zone: Drop by rounded tablespoons onto ungreased baking sheets. Leave a little space between each cookie to allow for spreading.
- Bake to Perfection: Bake for 9-11 minutes, or until the edges are golden brown. Keep a close eye on them; baking times may vary depending on your oven.
- Cool Down: Let cool on baking sheets for a few minutes before transferring to a wire rack to cool completely. This prevents them from breaking.
Pro Tips for Cookie Domination
Want to take your cookie game to the next level? Here are some insider secrets:
- Chill Out: For a thicker, chewier cookie, chill the dough for at least 30 minutes before baking.
- Baking Sheet Bliss: Use a light-colored baking sheet for even baking. Dark baking sheets can cause the bottoms of the cookies to burn.
- Room Temperature Rules: Make sure your butter and eggs are at room temperature for optimal creaming and mixing.
- Don’t Overmix: Overmixing develops gluten, resulting in tough cookies. Mix until just combined.
- Minutes Before Transferring: Let the cookies cool on the baking sheet for a few minutes before transferring to a wire rack. This helps them set and prevents them from breaking.
Common Mistakes to Avoid
Even the best bakers stumble sometimes. Here’s what to watch out for:
- Overbaking: This leads to dry, crumbly cookies. Keep a close eye on them and remove them from the oven when the edges are just golden brown.
- Undermeasuring Flour: Too little flour will result in flat, greasy cookies. Use a kitchen scale for the most accurate measurement.
- Skipping the Chill Time: Chilling the dough is crucial for preventing excessive spreading and developing flavor.
- Using Cold Butter: Cold butter won’t cream properly, resulting in dense, uneven cookies.
Variations: Unleash Your Inner Mad Scientist!
Feeling adventurous? Here are some ways to customize these cookies and make them your own:
- White Chocolate Dream: Swap out the green chocolate chips for white chocolate chips for a creamy, decadent twist.
- Nutty Professor: Add 1/2 cup of chopped walnuts, pecans, or macadamia nuts for a crunchy texture and nutty flavor.
- Mint Madness: Add 1/2 teaspoon of peppermint extract for a refreshing, minty kick.
- Gluten-Free Goodness: Substitute the all-purpose flour with a gluten-free blend for a gluten-free version. Remember to use a 1:1 replacement for the best results.
- Dairy-Free Delight: Use dairy-free butter and chocolate chips for a vegan-friendly option.
Storage Secrets
Want to keep these cookies fresh and delicious for days? Here’s how:
- Airtight Container: Store the cookies in an airtight container at room temperature for up to 3 days.
- Freezer Friendly: For longer storage, freeze the cookies in a freezer-safe bag or container for up to 2 months. Let them thaw at room temperature before serving.
- Dough Storage: You can also freeze the cookie dough! Just scoop the dough into balls and freeze them on a baking sheet. Once frozen, transfer them to a freezer-safe bag. Bake directly from frozen, adding a few extra minutes to the baking time.
Frequently Asked Questions (FAQ)
Got questions? I’ve got answers!
- Can I use a different type of flour?: Yes, but keep in mind that different flours will affect the texture of the cookies. Cake flour will result in softer cookies, while whole wheat flour will give them a nuttier flavor and denser texture.
- Can I make these cookies ahead of time?: Absolutely! The dough can be made ahead of time and stored in the refrigerator for up to 2 days.
- Why are my cookies spreading too much?: This could be due to using too much butter, not chilling the dough, or baking on a greased baking sheet.
- My cookies are too dry. What did I do wrong?: You may have overbaked them or used too much flour.
- Can I use natural food coloring?: Yes! Beet juice or spinach juice can be used as natural food coloring alternatives. Keep in mind that they may slightly alter the flavor of the cookies.
Serving Suggestions: Share the Green Love!
These cookies are delicious on their own, but here are some ideas to elevate your serving game:
- Milk and Cookies: A classic pairing that never gets old.
- Ice Cream Sandwich: Sandwich a scoop of your favorite ice cream between two cookies for a decadent treat.
- Cookie Crumble: Crumble the cookies over yogurt, oatmeal, or ice cream for added flavor and texture.
- Gift Giving: Package the cookies in a festive box or bag for a thoughtful homemade gift for St. Patrick’s Day or Christmas.
- Party Platter: Arrange the cookies on a platter with other green treats for a festive St. Patrick’s Day spread.
So there you have it, fire breathers! A recipe that’s easy to make, packed with flavor, and guaranteed to bring a smile to your face. Now go forth, bake these green beauties, and spread the cookie love! Remember, cooking with fire (or in this case, an oven) is all about embracing the imperfections and having fun. Until next time, keep the flames burning!

Homemade Green Chocolate Chip Cookies
Ingredients
Method
- Preheat oven to 375°F (190°C).
- Cream together butter, granulated sugar, and brown sugar until light and fluffy.
- Beat in eggs one at a time, then stir in vanilla extract.
- Add green food coloring to desired shade.
- Whisk together flour, baking soda, and salt in a separate bowl.
- Gradually add dry ingredients to wet ingredients, mixing until just combined.
- Stir in the green chocolate chips.
- Drop by rounded tablespoons onto ungreased baking sheets.
- Bake for 9-11 minutes, or until the edges are golden brown.
- Let cool on baking sheets before transferring to a wire rack to cool completely.
Notes
Loved this recipe? Save it to your favorite Pinterest board so you can easily find it later! ✨