Gather ’round, fire starters! Kai here, and today we’re not exactly setting anything ablaze (though, trust me, I’m working on a way to grill marshmallows without incinerating them). Instead, we’re firing up our imaginations with a snack inspired by the one and only, the mischievous marvel himself: Dr. Seuss’s Cat in the Hat! This isn’t just any snack; it’s a mini edible adventure, perfect for little hands and big imaginations. We’re talking easy, fun, and relatively healthy – a trifecta of awesomeness in the snack world. So, ditch the boring crackers and let’s whip up some Cat in the Hat magic!
Why You’ll Love This Dr. Seuss Inspired Snack
Alright, grill masters of the kitchen (or countertop, in this case), let’s break down why this Cat in the Hat snack is a total winner. Forget complicated recipes and hours of prep. This is about fun, simplicity, and creating something that sparks joy. It’s the kind of project that even the littlest sous chefs can get in on. Plus, it’s a sneaky way to get some fruit into those picky eaters!
- Easy and Fun: Seriously, it doesn’t get much easier than this. A few simple steps and you’ve got a whimsical treat.
- Healthy-ish: Okay, there’s chocolate involved, but we’re balancing it out with strawberries and bananas! It’s all about moderation, right?
- Perfect for Parties: Need a crowd-pleaser for a Dr. Seuss themed birthday party? Look no further! These are guaranteed to be a hit.
- Gets Kids Involved: This is a fantastic activity to do with your kids. Let them help with the dipping and stacking – it’s all part of the fun!
- Dr. Seuss Magic: It captures the playful spirit of Dr. Seuss.
Ingredients: Your Cat In The Hat Arsenal
Before we dive in, let’s make sure we have all our ingredients lined up. Think of this as your flavor fuel for the adventure ahead. Here’s what you need to make the magic happen:
- Large Marshmallows: These are the base of our hats. Go for the big ones; they’re easier to work with.
- Strawberries, sliced: Fresh and vibrant, these add a pop of color and a burst of flavor.
- Bananas, sliced: Creamy and sweet, the bananas provide a delicious contrast to the strawberries.
- White Chocolate Melting Wafers: These are your canvas for the Cat’s face. Make sure they’re good quality for smooth melting.
- Red Candy Melts: For that iconic red stripe, use candy melts for a vibrant color that sets well.
- Black Edible Marker: To bring the Cat to life, you’ll need a black edible marker for the eyes and nose.
How To Make The Cat In The Hat Snack: Step-by-Step
Alright, time to get our hands dirty! Follow these steps, and you’ll be stacking those Cat in the Hat snacks like a pro. Remember, it’s all about having fun, so don’t stress if they’re not perfect. Imperfection is what makes them unique!
- Melt the White Chocolate: Melt the white chocolate wafers according to package directions. Usually, a microwave works best – just be sure to stir frequently to prevent burning.
- Dip the Marshmallows: Dip the top half of each marshmallow into the melted white chocolate. Let the excess drip off and place them on a parchment-lined baking sheet to set.
- Melt the Red Candy Melts: Melt the red candy melts according to package directions. Again, microwave in short intervals, stirring until smooth.
- Dip the Bottoms: Dip the bottom half of each marshmallow into the melted red chocolate. Place them back on the parchment paper to set completely.
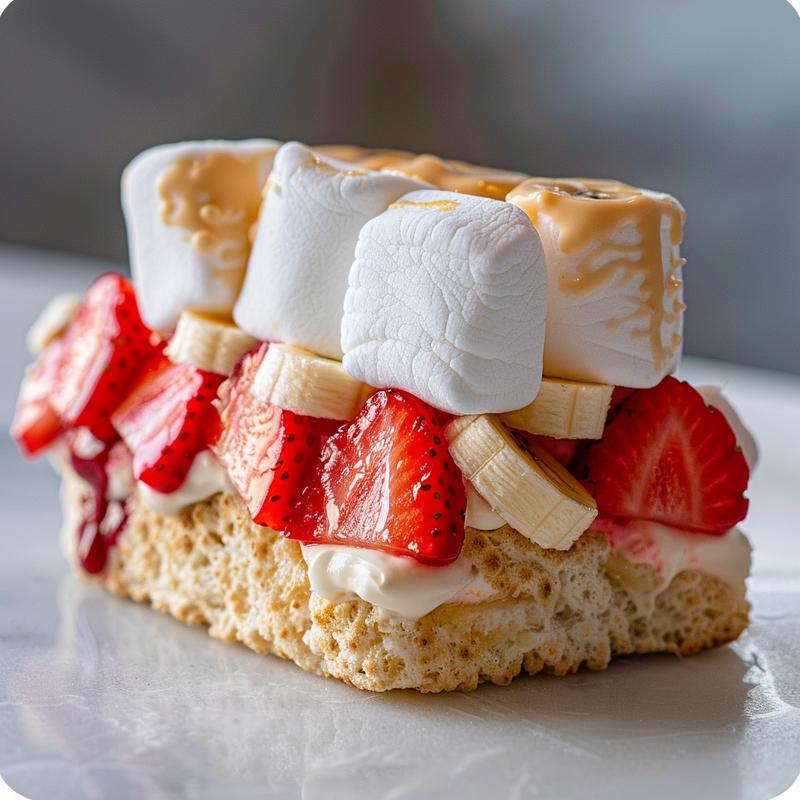
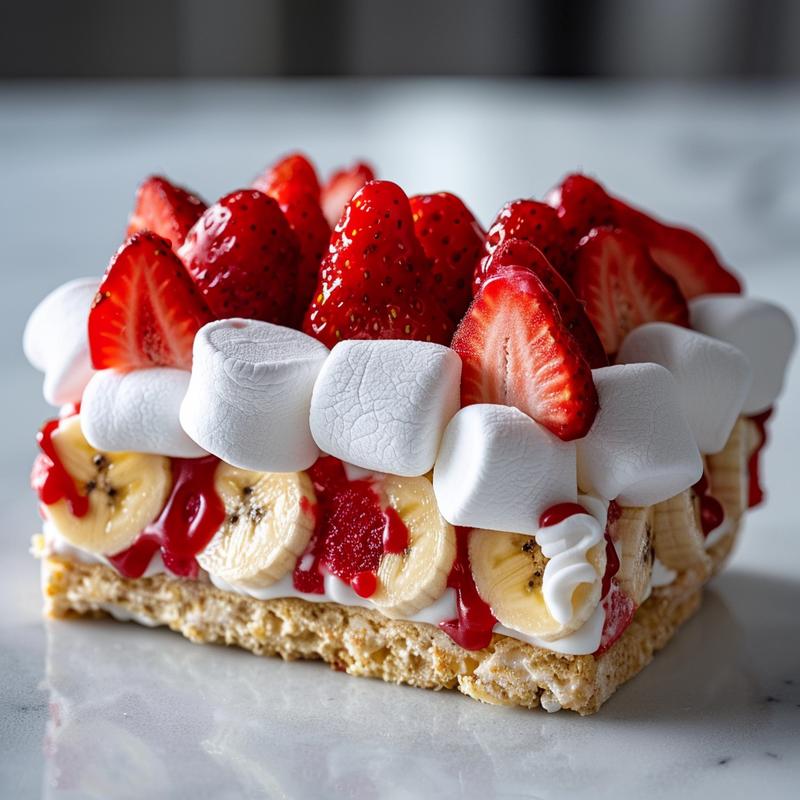
- Stack the Stripes: Once the chocolate is set, stack alternating slices of strawberry and banana on top of the white chocolate part of the marshmallow to create the Cat’s hat stripes.
- Secure the Fruit (If Needed): Use a small amount of melted white chocolate to secure the fruit to the marshmallow, if needed. This will help prevent them from sliding off.
- Draw the Face: Use the black edible marker to draw the Cat’s eyes and nose on the white chocolate part of the marshmallow. Get creative with it!
Pro Tips for Cat In The Hat Snack Perfection
Even the simplest recipes have a few tricks up their sleeves. Here are some pro tips to elevate your Cat in the Hat snack game:
- Chill Out: Pop the dipped marshmallows in the fridge for a few minutes to help the chocolate set faster.
- Slice Smart: Slice your strawberries and bananas thinly and evenly so they stack nicely.
- Melt with Care: Don’t overheat the chocolate or candy melts! Low and slow is the way to go to prevent burning.
- Parchment Power: Always use parchment paper to prevent sticking and make cleanup a breeze.
- Edible Glue: Use a toothpick to apply small dots of melted chocolate when securing the fruit.
Common Mistakes to Avoid
We all make mistakes, especially when we’re having fun in the kitchen. Here are a few common pitfalls to watch out for:
- Overheated Chocolate: Burnt chocolate is sad chocolate. Keep a close eye on it while melting.
- Soggy Fruit: Avoid using overripe fruit, as it can be too soft and release moisture.
- Rushing the Setting Process: Make sure the chocolate is fully set before stacking the fruit, or it will all slide around.
- Uneven Dipping: Try to dip the marshmallows evenly for a more polished look.
- Forgetting the Parchment Paper: Trust me, you’ll thank me later.
Variations: Spice Up Your Seuss Snacks
Want to put your own spin on this classic? Here are a few variations to get your creative juices flowing:
- Different Fruits: Try using blueberries, kiwi, or mandarin oranges for the stripes.
- Chocolate Swirls: Swirl some red candy melts into the white chocolate for a marbled effect.
- Sprinkles!: Add a sprinkle of colorful sprinkles to the white chocolate before it sets.
- Mini Marshmallows: Use mini marshmallows for a bite-sized version.
- Peanut Butter Cups: Use mini peanut butter cups instead of marshmallows for a richer treat.
Storage: Keeping Your Cat In The Hat Snacks Fresh
These snacks are best enjoyed fresh, but if you have leftovers, here’s how to store them:
- Airtight Container: Store them in an airtight container in a cool, dry place.
- Refrigeration (Optional): If it’s warm, you can refrigerate them, but the chocolate may sweat a little.
- Best Eaten Within: 1-2 days for the best texture and flavor.
Frequently Asked Questions (FAQ)
Got questions? I’ve got answers! Here are some common questions about this recipe:
- Can I use different types of chocolate?: Absolutely! Milk chocolate or dark chocolate would also work well.
- Can I make these ahead of time?: Yes, but they’re best made the same day. The fruit can get a little soft if stored for too long.
- Are these allergy-friendly?: That depends on the allergies! Be sure to check the ingredients for any potential allergens.
- Can I use a piping bag for the chocolate?: Yes, a piping bag can help you get a more precise dip.
- What if I don’t have an edible marker?: You can use melted chocolate and a toothpick to draw the face, but it’s a little trickier.
Serving Suggestions: How to Unleash the Seuss
Alright, your Cat in the Hat snacks are ready to roll! Here are some fun ways to serve them up:
- Dr. Seuss Party: Obviously, these are perfect for a Dr. Seuss themed party.
- Read Across America Day: Serve them as a special treat for Read Across America Day.
- After-School Snack: Surprise your kids with these after school for a fun and healthy-ish snack.
- Lunchbox Treat: Pack them in a lunchbox for a special midday surprise.
- Just Because!: Sometimes, you don’t need a reason. Just make them because they’re fun and delicious!
So there you have it, fire-kissed friends! A simple, fun, and delicious way to bring a little Dr. Seuss magic into your kitchen. Now go forth, create, and let your imagination run wild! And remember, cooking should be an adventure, not a chore. Until next time, keep those flames burning bright! 🔥

Cat In The Hat Dr Seuss Snack
Ingredients
Method
- Melt white chocolate wafers according to package directions.
- Dip the top half of each marshmallow into the melted white chocolate. Let set.
- Melt red candy melts according to package directions.
- Dip the bottom half of each marshmallow into the melted red chocolate. Let set.
- Once the chocolate is set, stack alternating slices of strawberry and banana on top of the white chocolate part of the marshmallow to create the Cat's hat stripes.
- Use a small amount of melted white chocolate to secure the fruit to the marshmallow, if needed.
- Use the black edible marker to draw the Cat's eyes and nose on the white chocolate part of the marshmallow.
Notes
Loved this recipe? Save it to your favorite Pinterest board so you can easily find it later! ✨